The employee background verification process is a necessary task for an organization to substantiate the information and data given by the candidate at the time of hiring. Through this process, the organization can ensure the credibility of the candidate. The verification process includes various steps and assessments in which the organization (the responsible HR person) will go through the candidate's details, such as academic records, former employment details, resume details, identity details, and many more.
Usually, the employee background verification process starts once the candidate has completed all the interview rounds. Implementing the OpenHRMS Employee Background Verification module in your organization will lay down the operational hazards of your organization's HR department. The automated module will perfectly organize and carry out all the processes regarding the verification.
The OpenHRMS Employee Background Verification tool is the absolute solution for conducting employee background verification instantly by verifying the respective candidates' backgrounds via a verification agent to examine the candidates' qualifications and other credentials. Consequently, this will fasten the final decision of receiving or rejecting the candidate. The HR person can send a corresponding email to the candidate based on this decision.
This chapter will enclose all the functionalities regarding the OpenHRMS Employee Background Verification module.
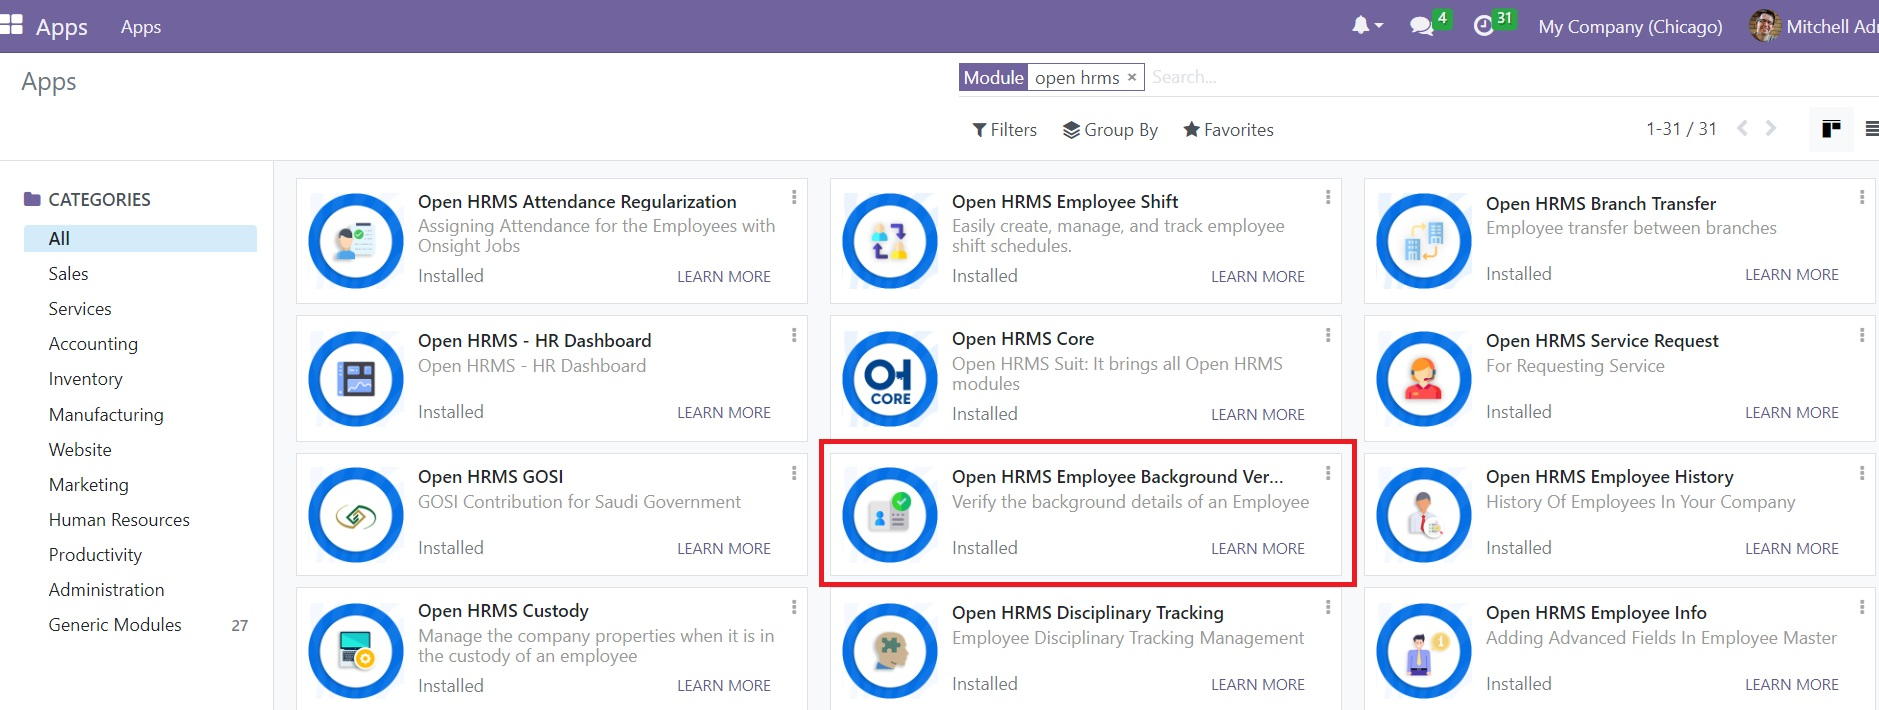
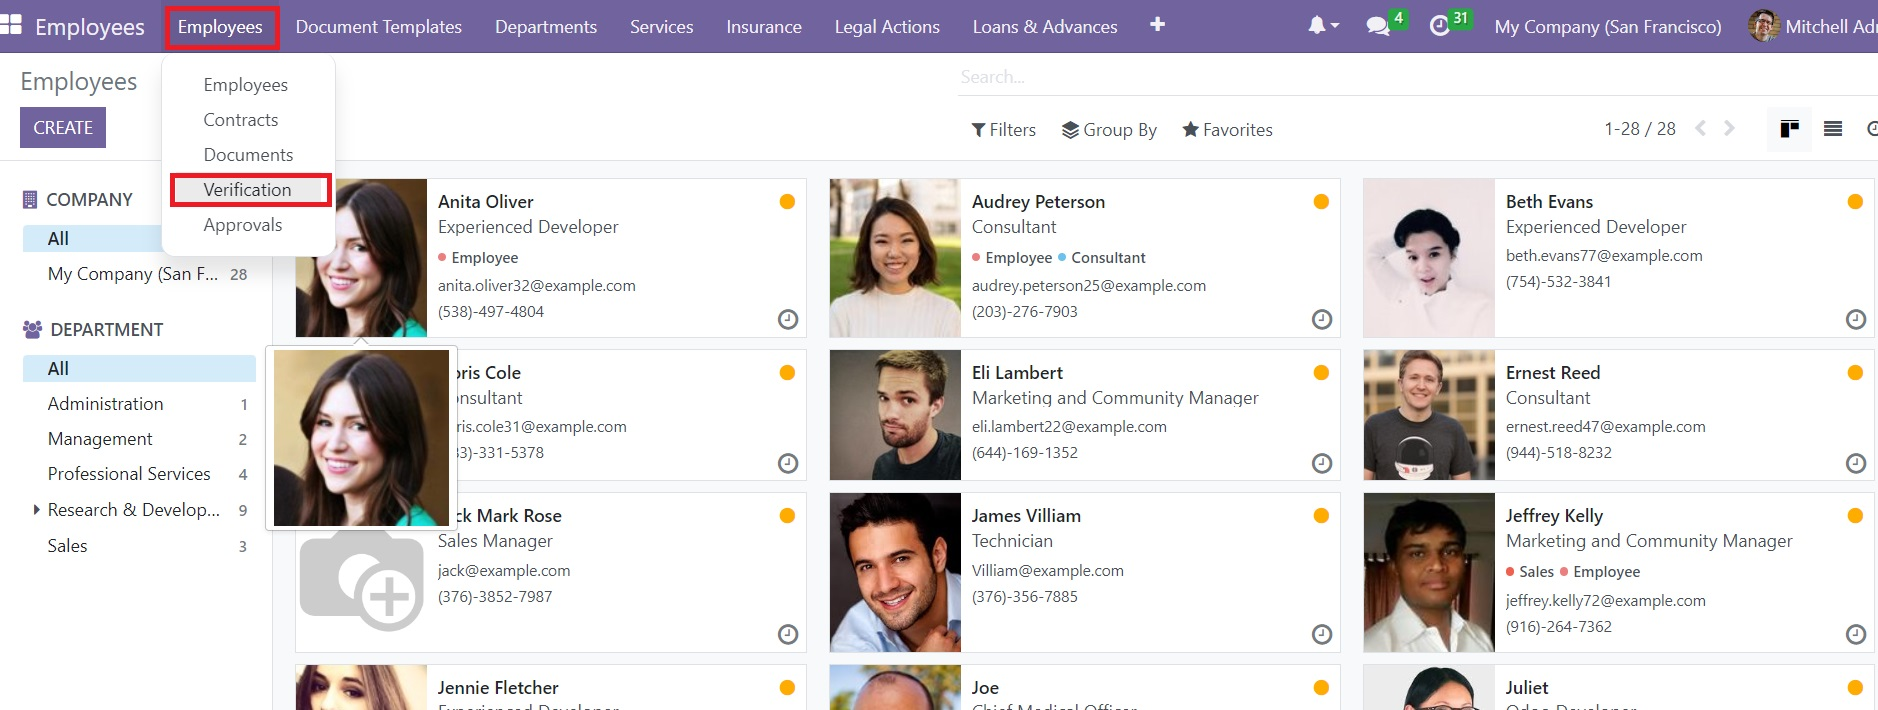
Once you have installed the module, you can open the Employees module. Under the Employees tab, you can see the Verification menu, as highlighted in the image below.
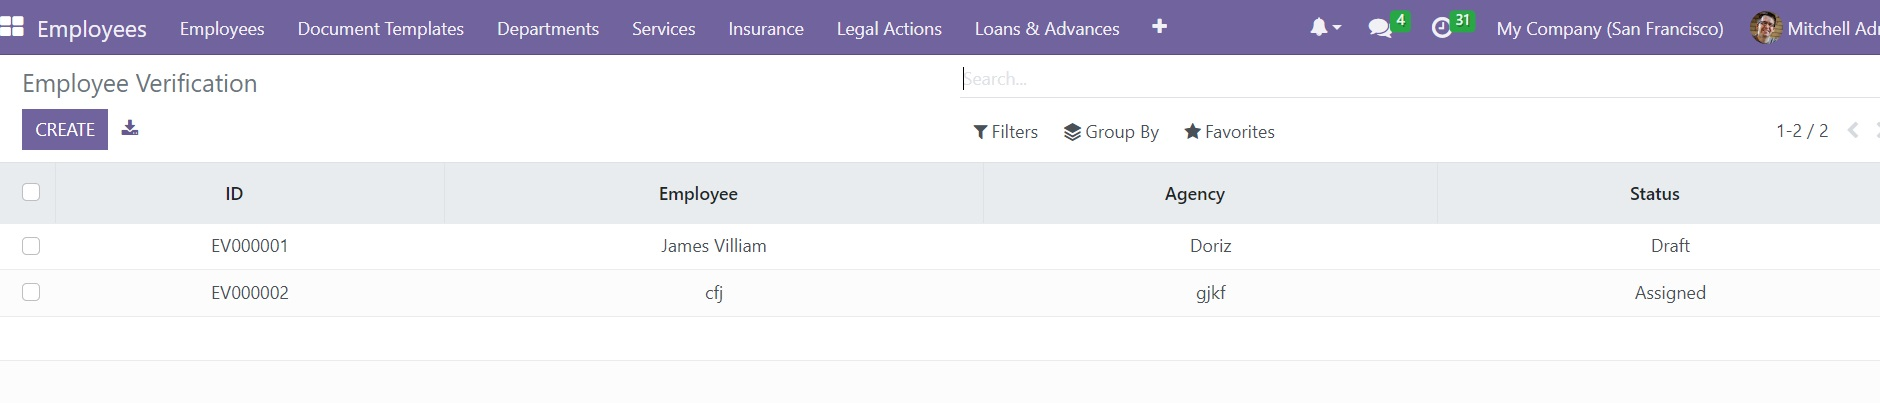
You can click on the Verification menu icon to open the Verification window. When you click on the menu, you will be able to view the preview of all the employee verification configured in the system. The preview represents the ID generated for the employee verifications along with the Employee Name, Agency and the Status. By clicking on the preview, you can view the verification details in a detailed manner. You can also apply various default and customizable filters by clicking on the Filters tab. Likewise, you can categorize the verification records using the default and customizable Group By options. All these options will simplify your search process.
If you want to create a new Employee Verification record, you can click on the Create button, which is situated in the top left corner of the window. It will take a fraction of a second to open up the window.
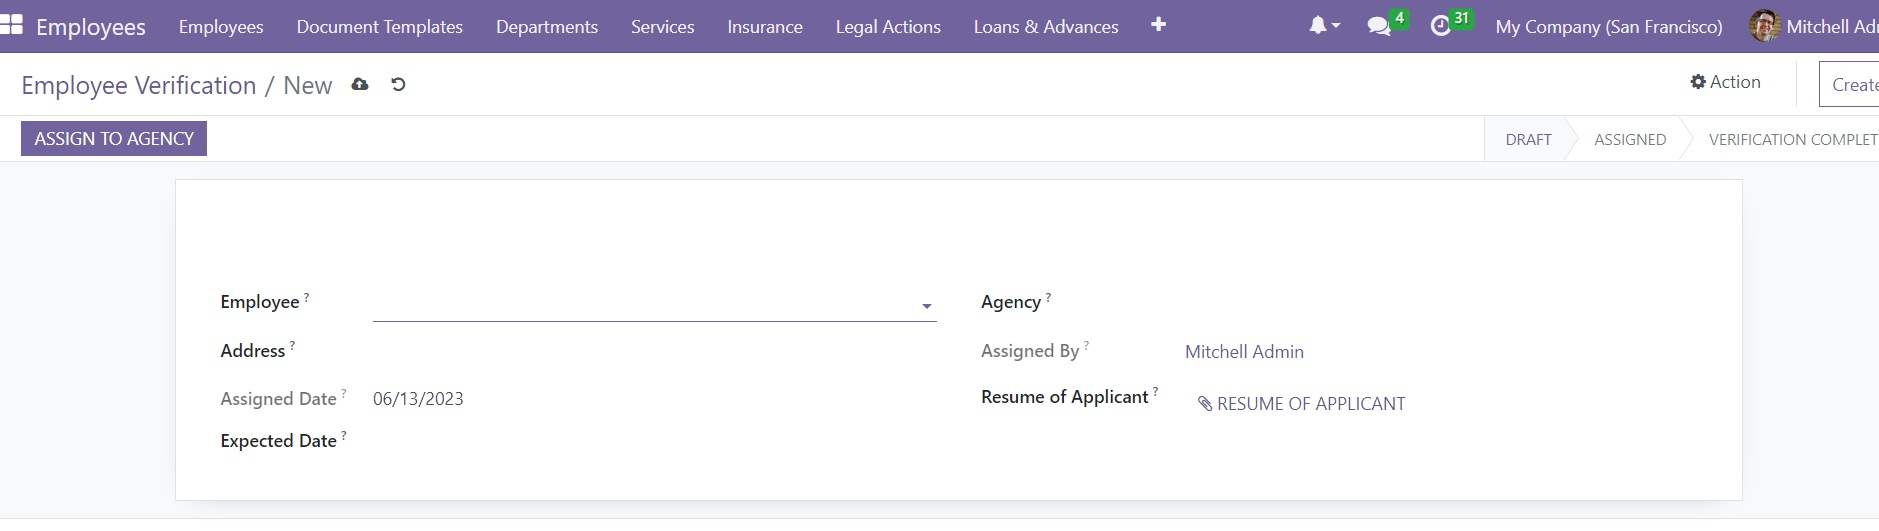
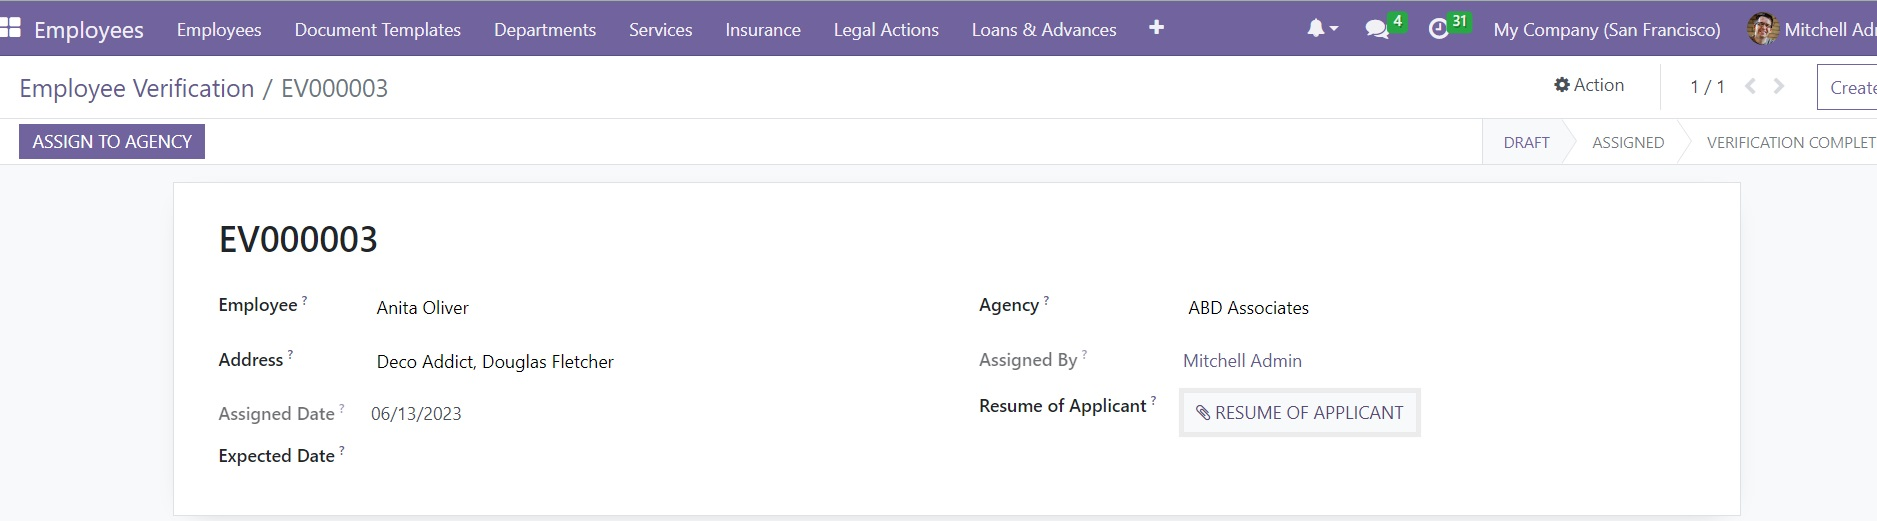
The above screenshot portrays the Employee Verification creation window, and using this window, you can create a new Employee Verification record. First of all, you can choose the employee for employee verification. Then you can enter the private address of the employee. You should remember that the address is not the one linked to your company. The record's assigned date can be mentioned under the Assigned Date. Likewise, the expected date of completion of background verification can be given under the Expected Date field.
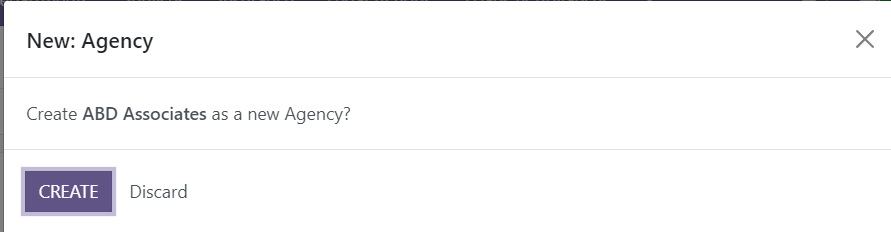
The Agency field allows you to choose a verification agent. The platform gives you the option of creating agents exclusively in the Contact module. Also, you can create it from here itself in the window if you have installed the Contacts module. For that, you can just click on the Create and Edit button after typing the agent name. Now the system displays the agency creation form, as shown in the image below.
Here in the creation form, you can see the Is Agent field. You can mark it if the partner is an employee verification agent.
The creation form can be filled with the other details. First, you can choose whether it is a Company or an Individual. If it is an individual, you can provide the Company Name in the provided space. Then you can give the address of the company in the address field. If it is an individual, the Address field will display various address types such as Contact, Invoice Address, Delivery Address, Other Address and Private Address.
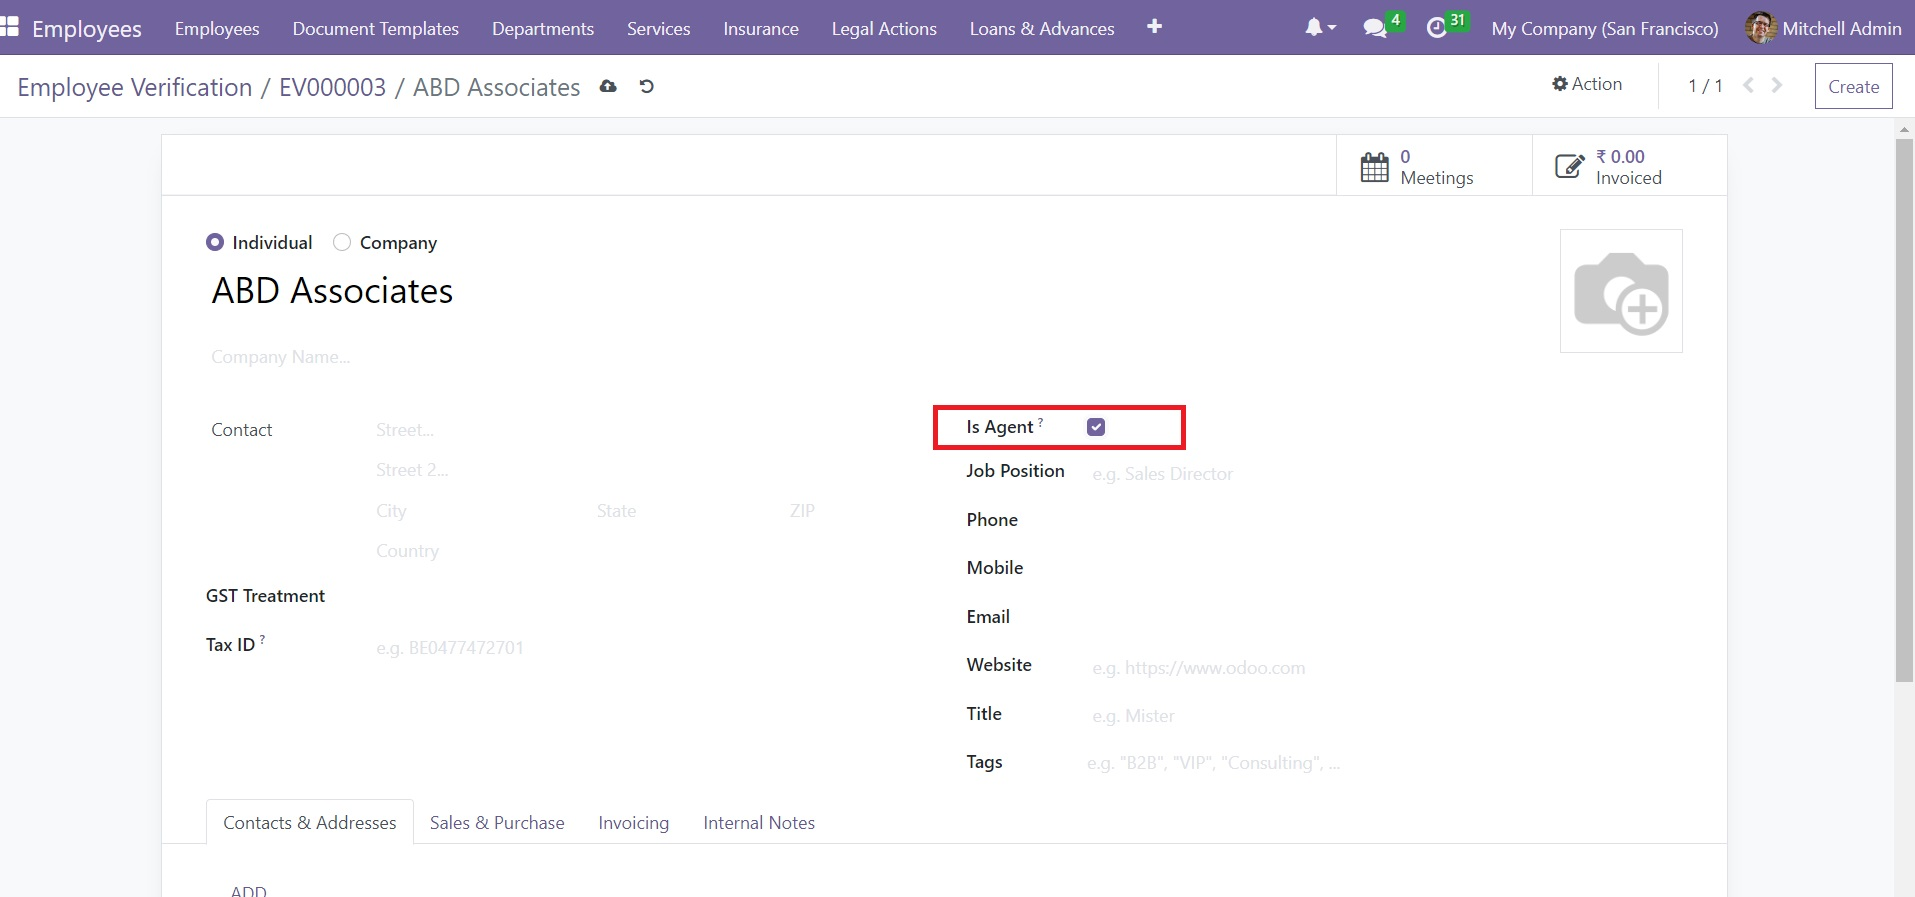
The Invoice and Delivery addresses are used in sales orders. Private addresses are only visible by authorized users. You can save the newly created agent after providing other details such as GST Treatment, VAT, Is Agent, Job Position, Phone, Mobile, Email, Website, Title, and Tags.
Back to the Employee Verification creation window. Here, the assigned user login name will be displayed in the Assigned By field. Finally, you can attach a document copy in the Resume of Applicant field.
Once you are given all the details, you can save the newly created Verification record using the Save button. The moment you save the record, the system will automatically generate an employee verification ID and will display it on the top of the window. Now the record is in the Draft state, and you can see the different states such as Draft, Assigned, and Verification Completed on the top left.
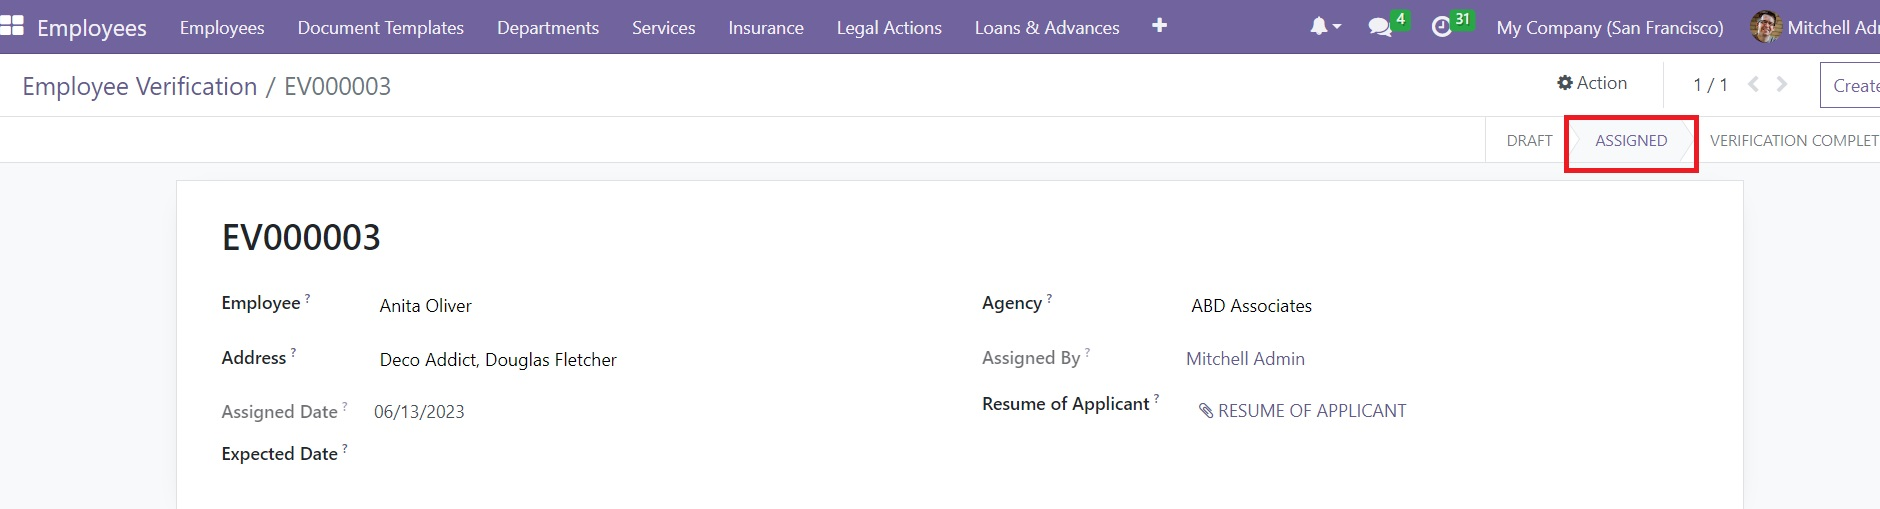
For assigning the employee verification to the agency, you can click on the Assign to agency button, which can be accessed from the top left corner of the window. Now the request is moved to the Assigned stage.
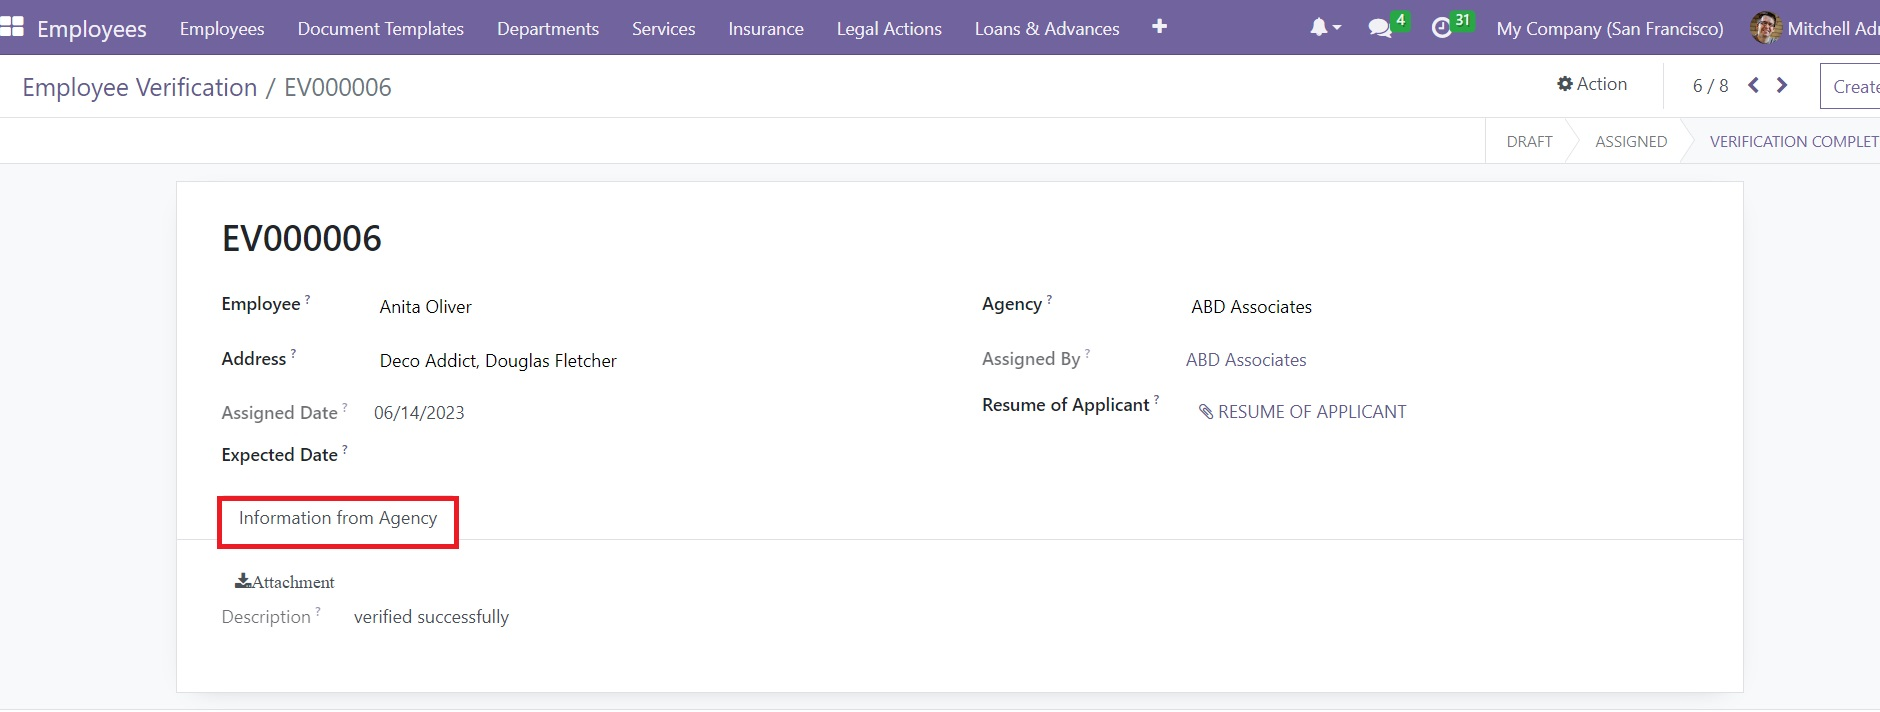
The agent has now received the employee verification, and after completing their operations, they can successfully submit the verification report to the company. Now the verification will be moved to the Verification Completed stage. Also, the description submitted by the agent will be displayed in the window with a new tab called Information From Agency.
So, let us check it out.
For that, we can log out from the Mitchel Admin user and we can log in as YTR associates which we created as portal users. Here we can see an employee background verification option as highlighted in the screenshot.
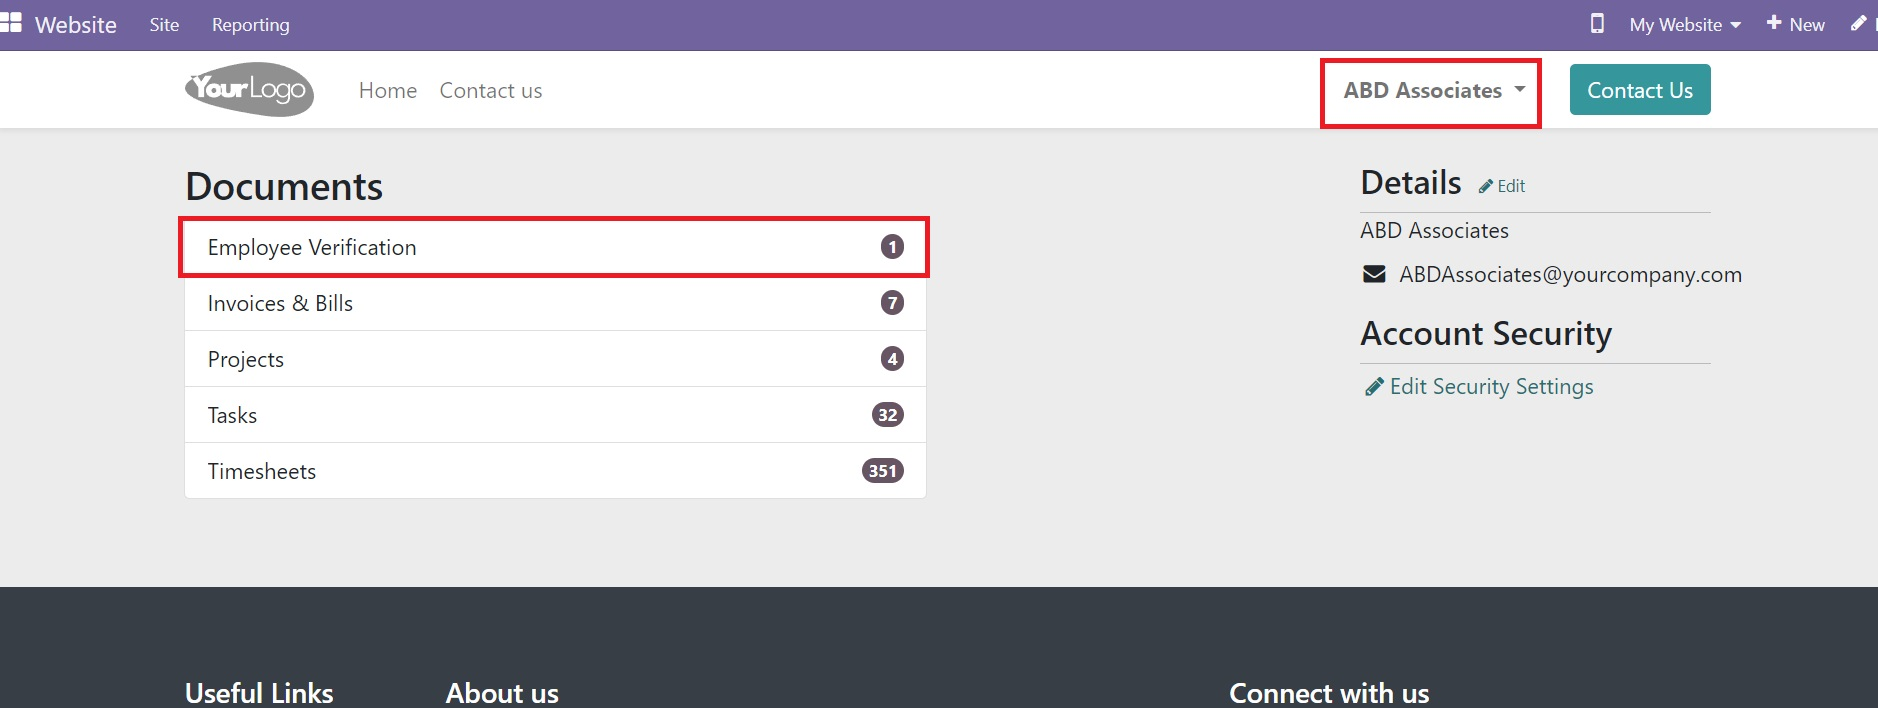
You can click on the Employee Verification option, and now you will be able to view the verification details we created for the employee Daniel.
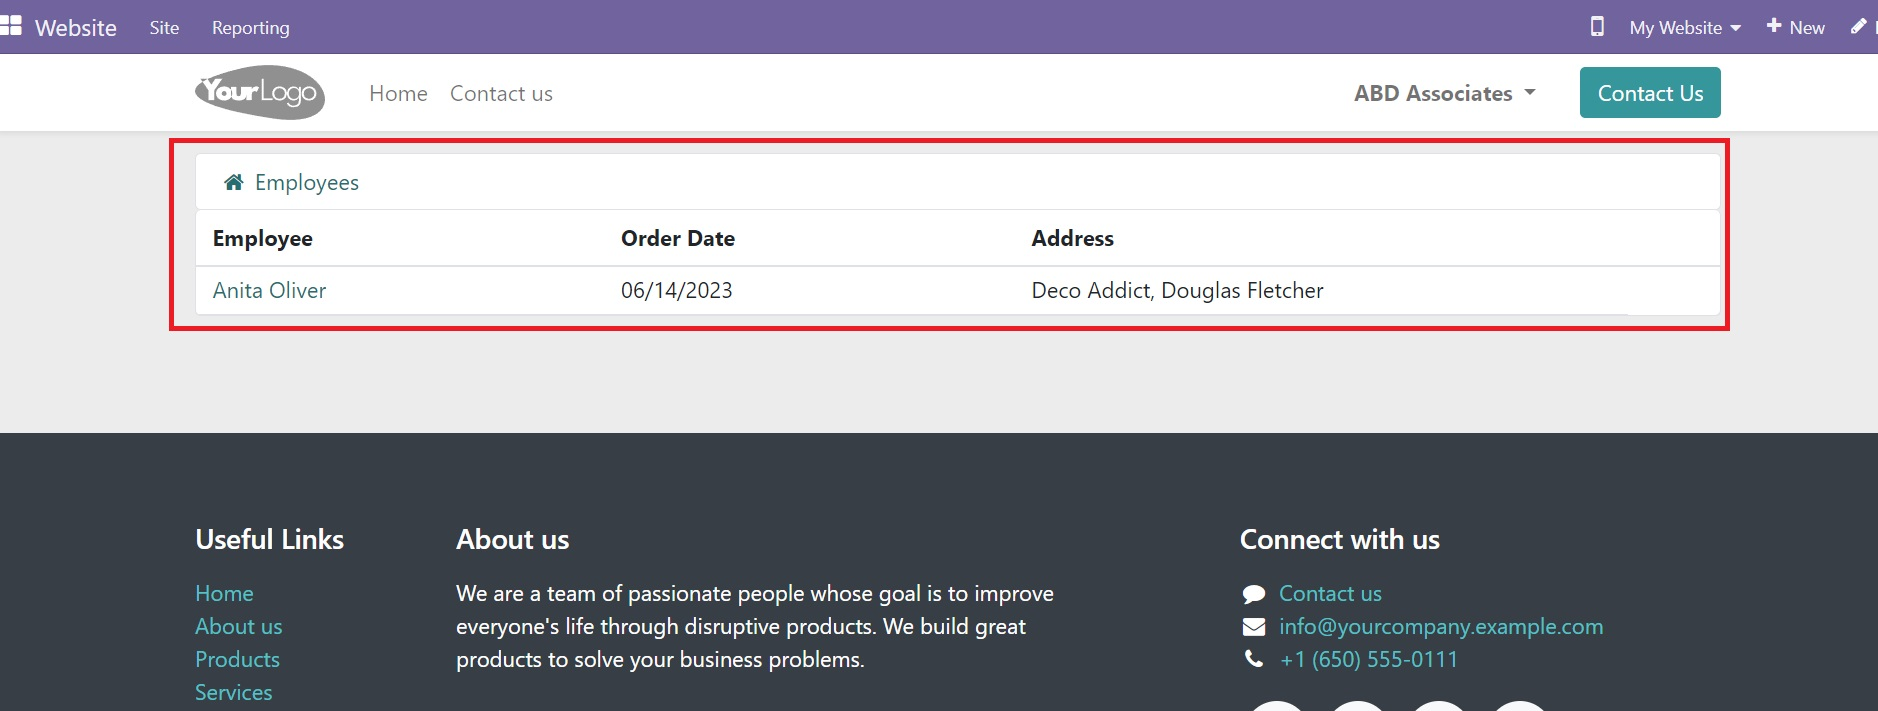
When you click on the employee record, you will navigate to a new page where you can view all the employee verification details, as shown below.
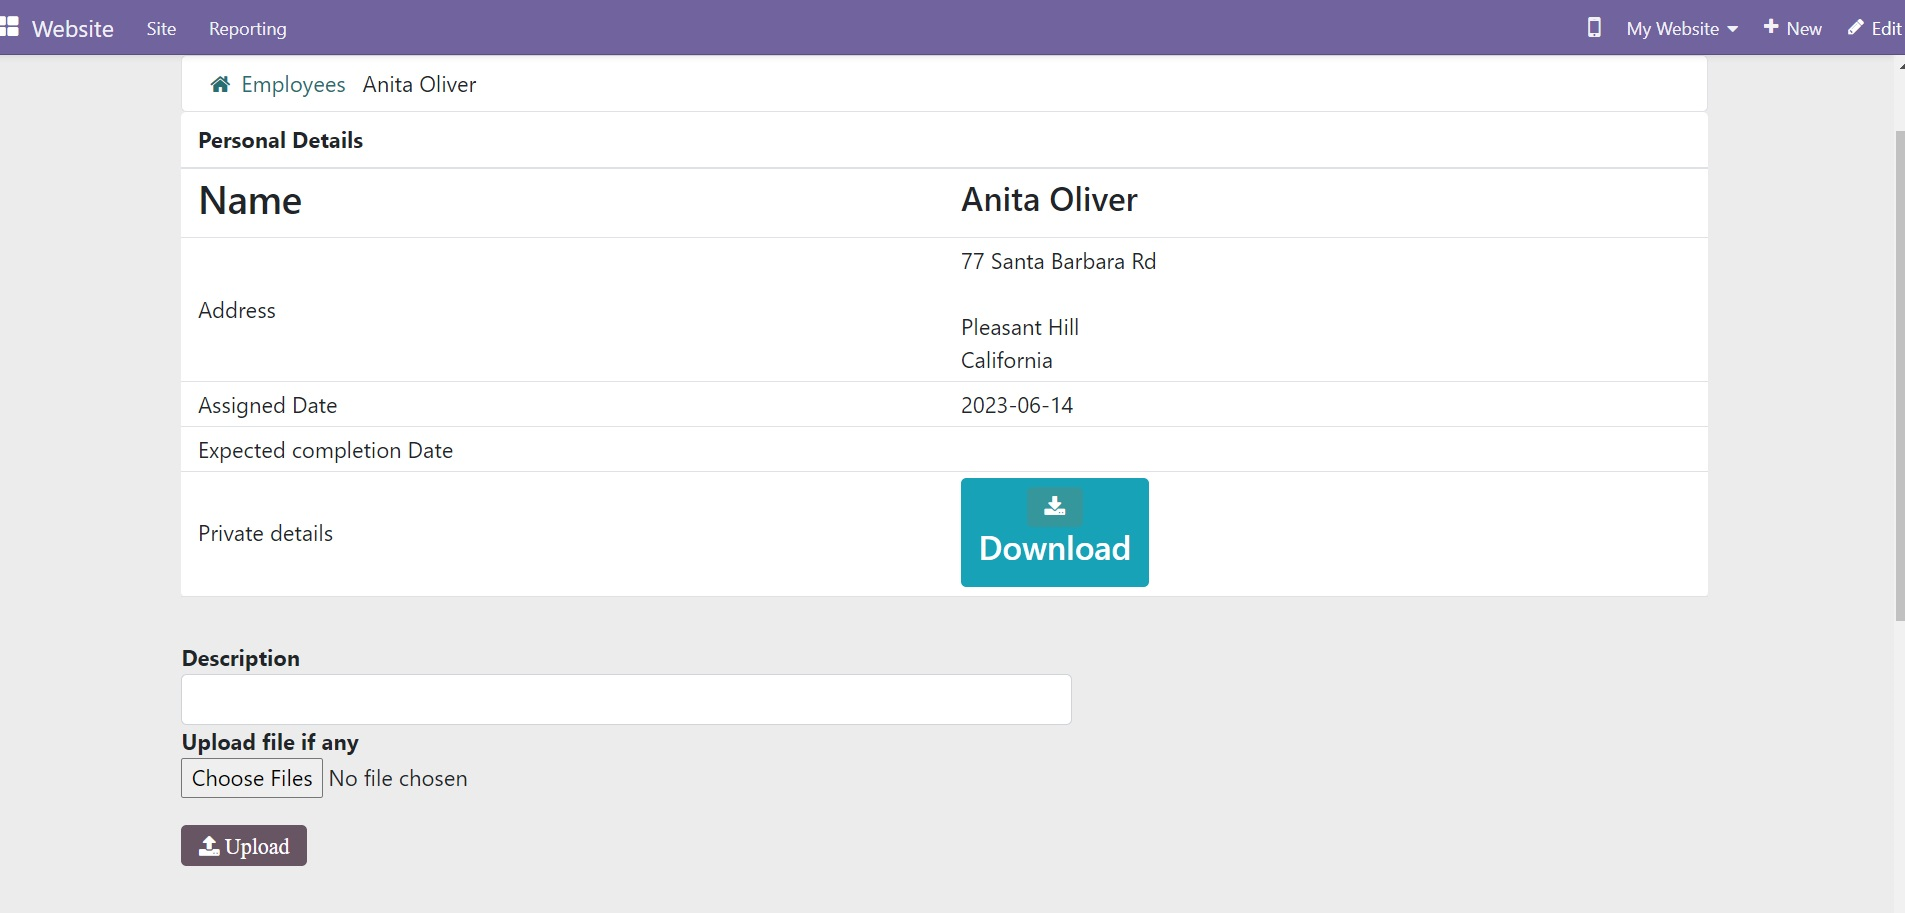
The name of the employee, address, assigned date, expected completion date, uploaded private details, etc will be displayed.
At the bottom, you can view the option for providing a description regarding this employee where the agent can give the description. If there are any files to upload, this can be done by clicking on the Choose Files option.
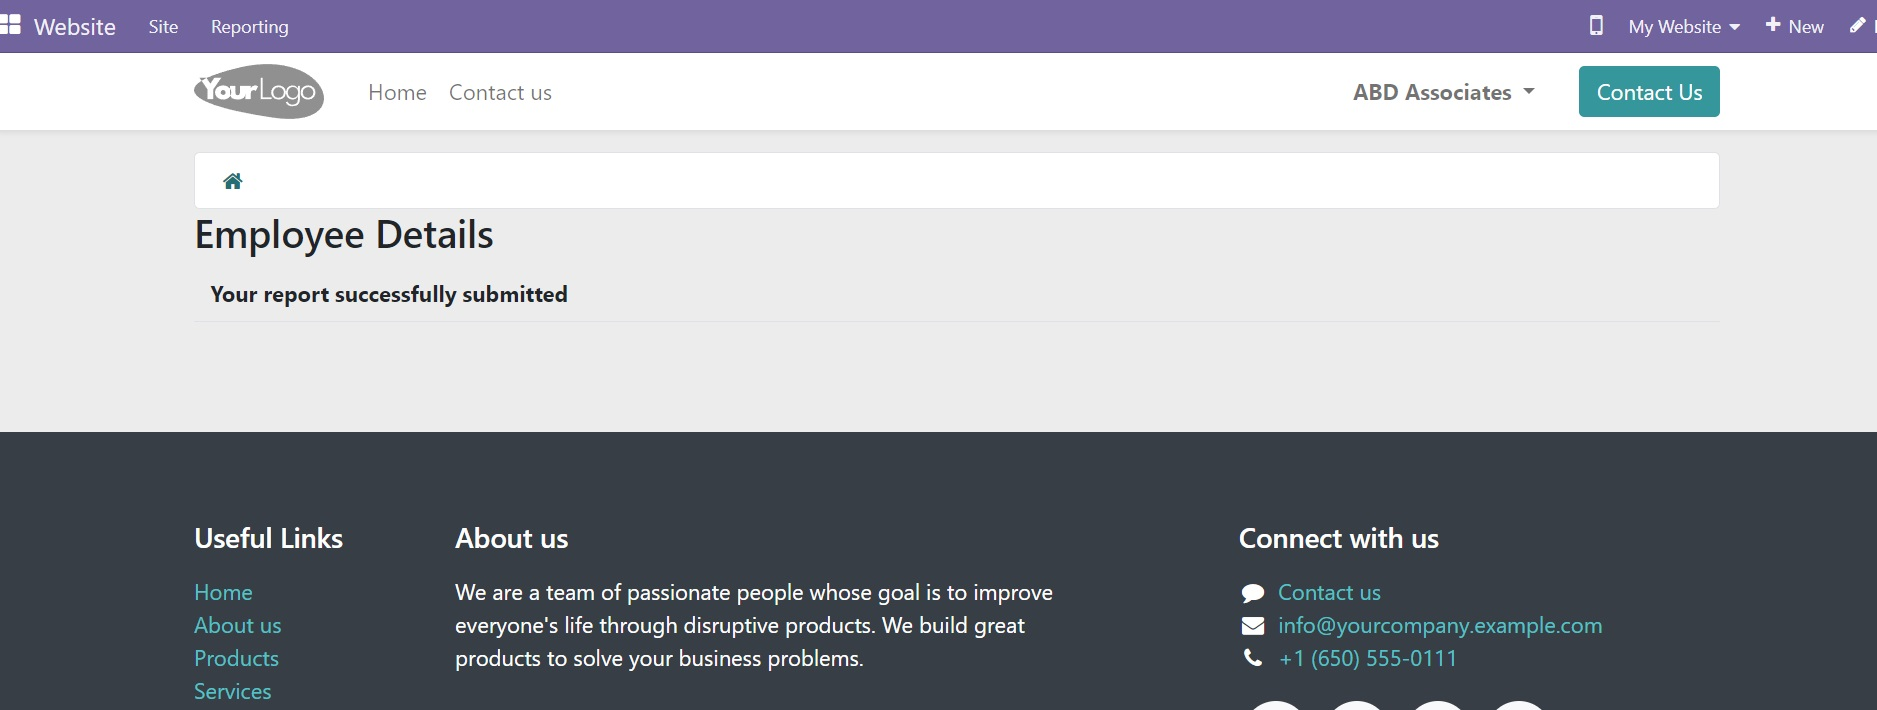
Then click on the Upload button. Now the report has been submitted successfully.
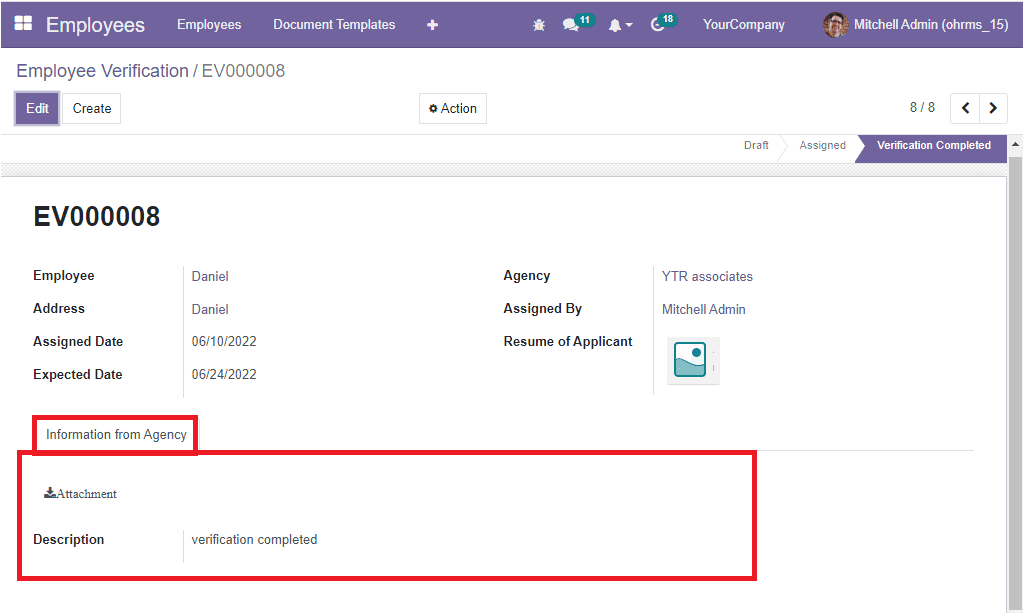
Now let us log out from the user and log in as Mitchel admin. Then we can go to the Employees module to view the verification status. So let us open the Verification menu and access the employee verification request we created. Here we can see that the verification request is in the Verification Completed state, as seen in the screenshot below.
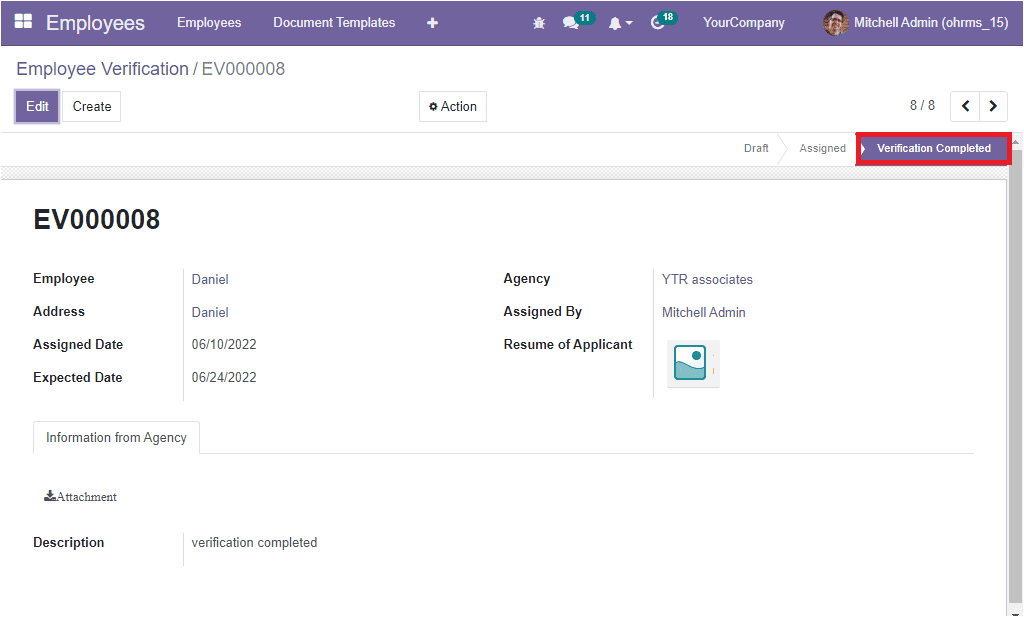
Also, the description added by the agent is visible under the Information From Agency tab.
In conclusion, the Employee Background Verification module developed in the OpenHRMS suite is highly skillful in managing employee background verification. You can easily configure the agents who can later collect the candidate details and submit them to the higher authority or the responsible HR person. The module provides the provision to send the automated request to the agent concerning the verification. The manager or the concerned authority can take suitable actions based on the verification report.